
So what’s been happening here? Well the truth is not much except for the change of tent.
We had been using the roof tent on top of the landcruiser (called Serenity) but being as high as it was there were issues. First of all, I couldn’t actually reach the tent on the roof which meant that Stuart pretty much had to do all of the putting up the tent by himself. I couldn’t help him at all. Traditionally, I have always put the tent up myself with Stuart helping me. And Stuart did the cooking whilst I was doing the tent. So we had to have a complete roll reversal. Something neither of us were very good at or actually liked.
Secondly there was the getting in and out. Yes I could just about do it but during the night the only way for a call of nature involved accidentally waking Stuart up. He preferred to help me climb the ladders when I was tired, but no matter how quitely I tried to get up and climb down the ladders, I’d wake him up.
And then there was the handling of Serenity. The roof tent really badly affected the handling. An already high vehicle with huge ground clearance, suddenly became very top heavy. Don’t even ask about the effects of adding a brick to the aerodynamics of the vehicle. The roof tent wasn’t easy for Stuart to get on and off either. So basically it stayed on. Not ideal when the fuel consumption is so badly affected. Taking the tent off its a 2 person job. 2 people who can lift something heavy above their heads and walk it onto the roof. So we’d had to come up with another method. It still involved the 2 of us, but needed both vehicles, a hoist and a tall enough tree. You get the picture. It wasn’t working for us.
So with all of the End of Financial Year sales on (that’s June in Australia) we hit the shops. We wanted something I could put up by myself. And because of my back and everything else we wanted something higher than our Hilleberg Nammatj (the one we toured in and is still going strong. Great for Arctic conditions, not so great in hot summers in Australia.
So, something waterproof went without saying, something breathable and with excellent ventilation. Something with shaded windows and mesh on everything. Something that could stand up to winter storms (within reason, we can always use the vehicle as a wind break). Something with an awning would be an advantage. We had a number to choose from but we kept coming back to two in particular.
In the end, we settled for the one that was the easiest to erect; the air tent. The poles are air filed and if my back is bad, then we can erect the tent with a battery operated air pump. It doesn’t come with one sadly, that’s extra but the high volume hand pump works pretty well when I erected it at home. Or at least did one both valves were closed! We had both thought that it had 3 air inflated poles, the 3rd a brace at the top not being always necessary. However, I quickly worked out at +100 pumps that air was leaking out of the open valve. Closing off that valve, with the thank you I did this at home first embarrassment, quickly inflated the single pole that runs in a U shape on the far side making the 2 poles actually just the one! Oops.
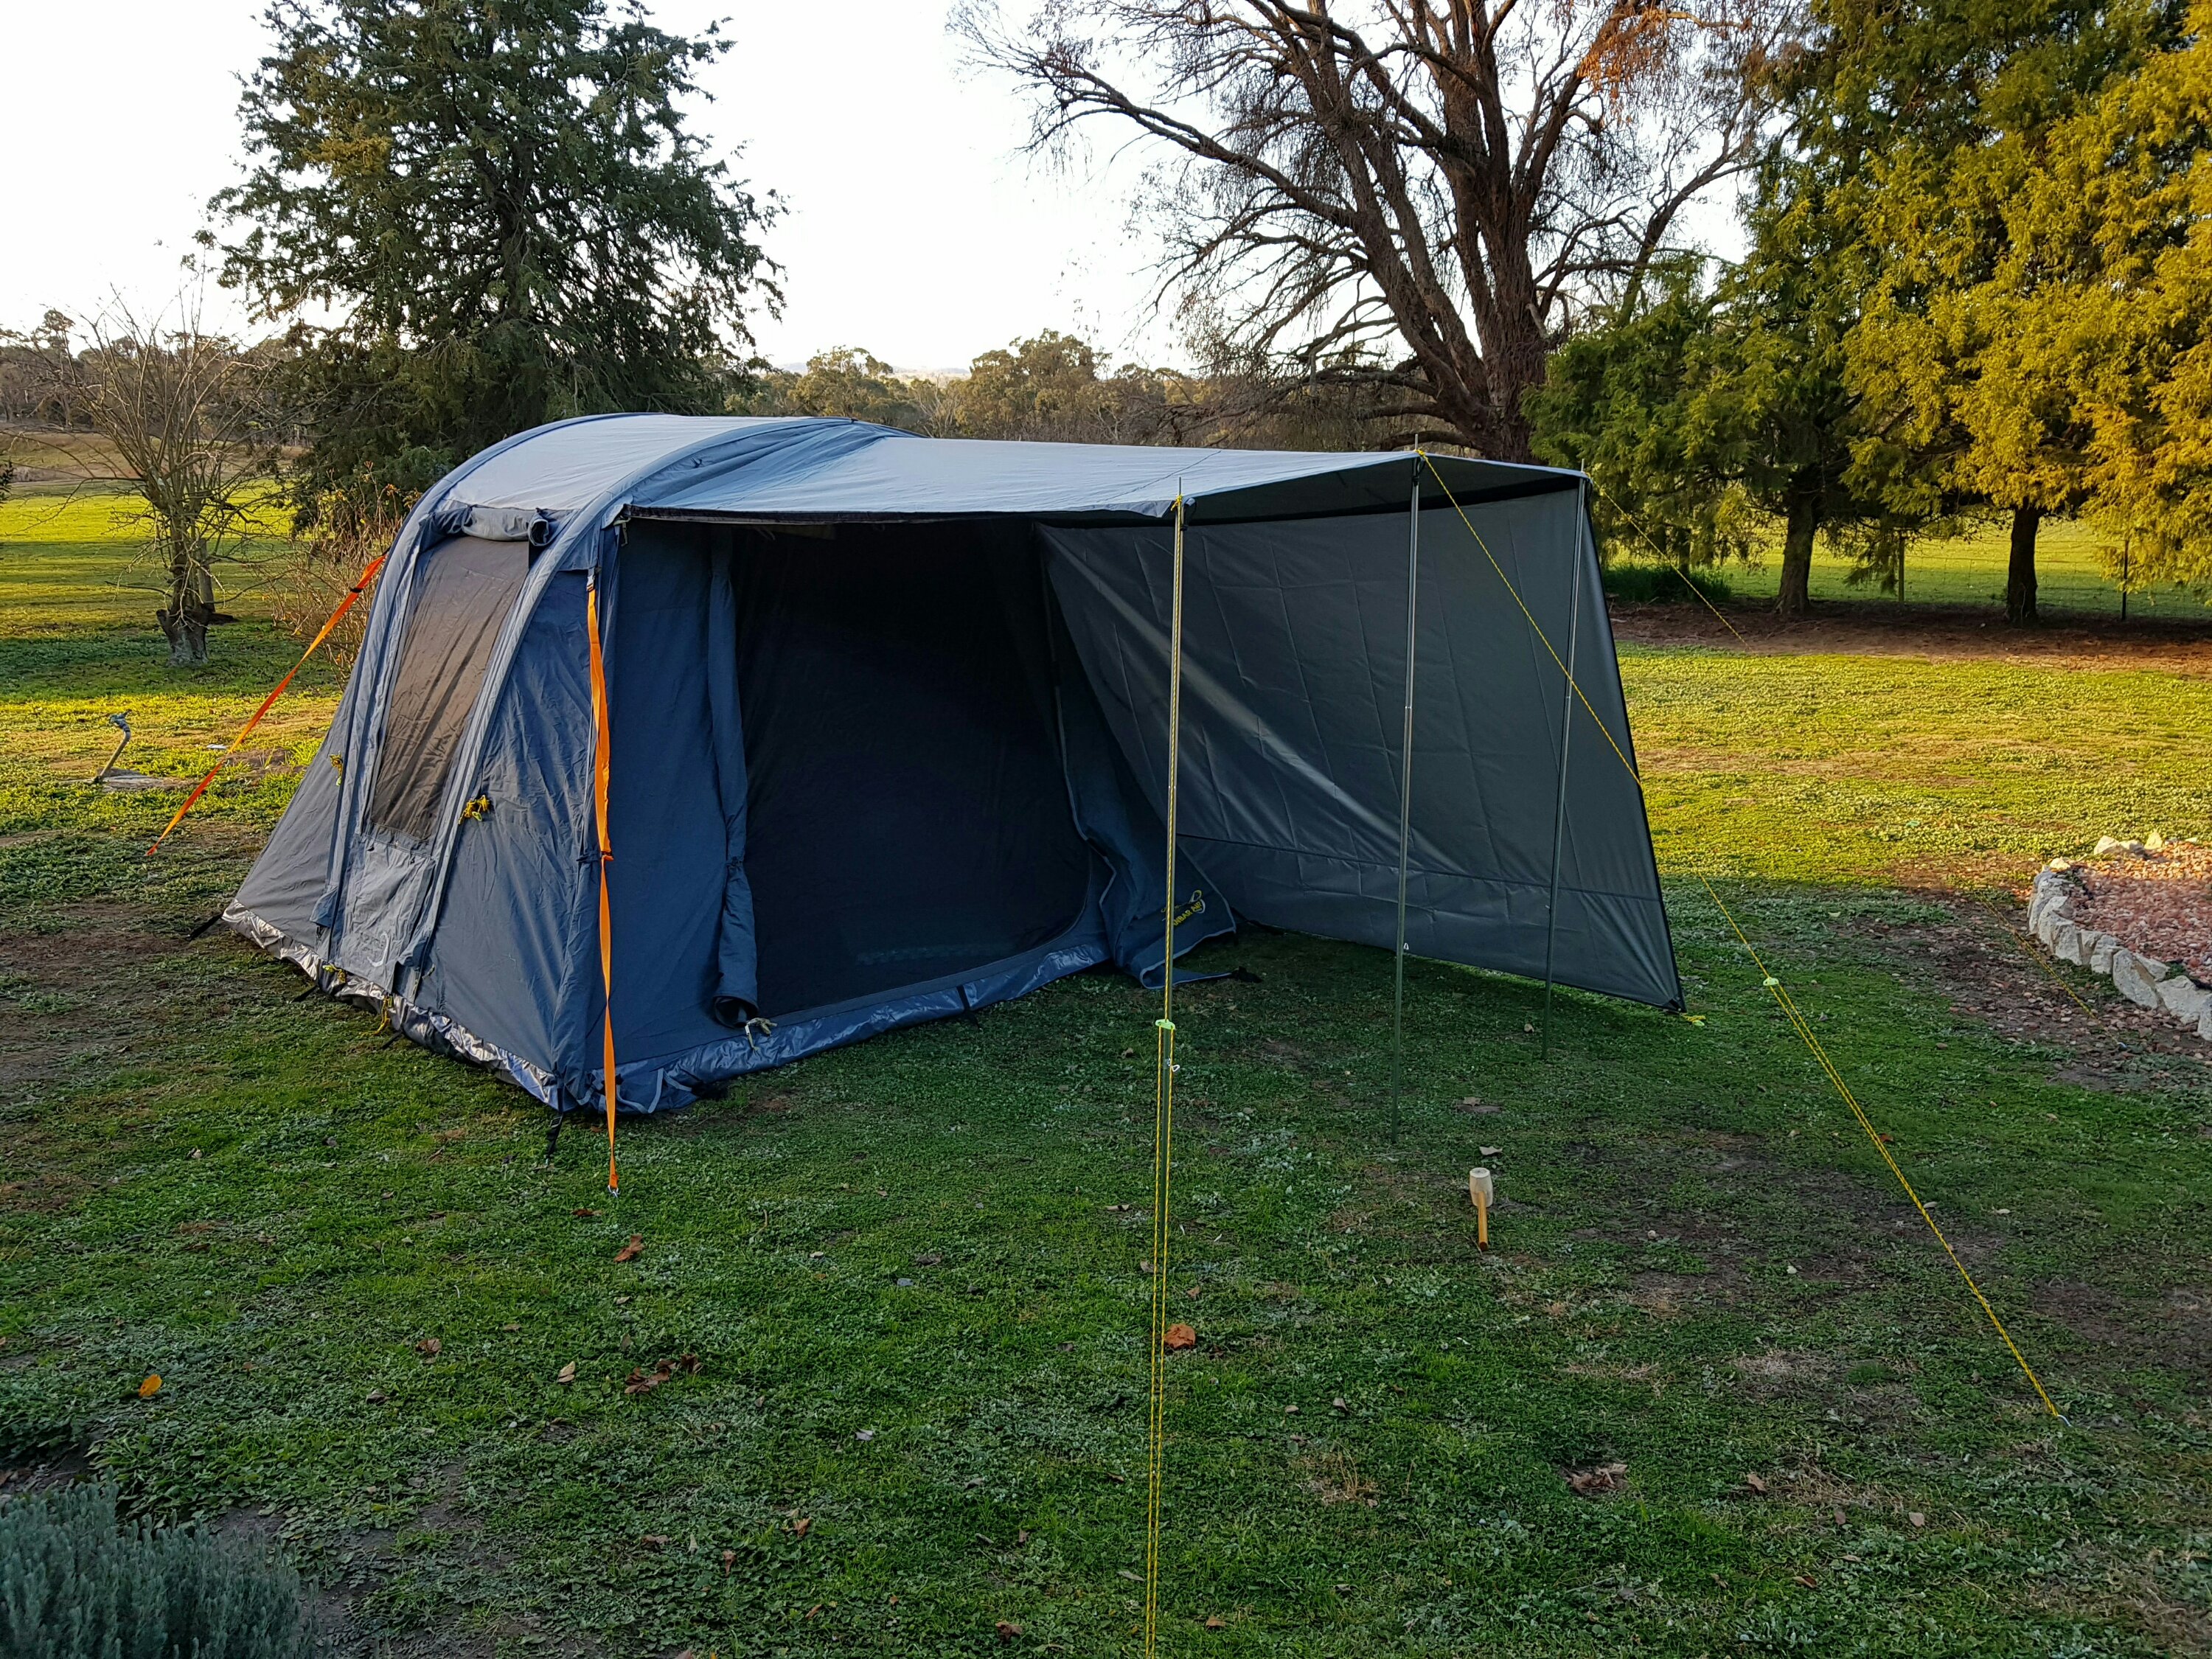
So the front opens up into an awning, which has 2 optional sides as you can see. There’s a handy fabric gatherer just by the door at the top to gather in the extra fabric needed to make a for reach the ground but isn’t needed when it’s an awning. The design prevents (most) water from gathering on the awning which is useful and I’m sure with practice I’ll get better at erecting it!
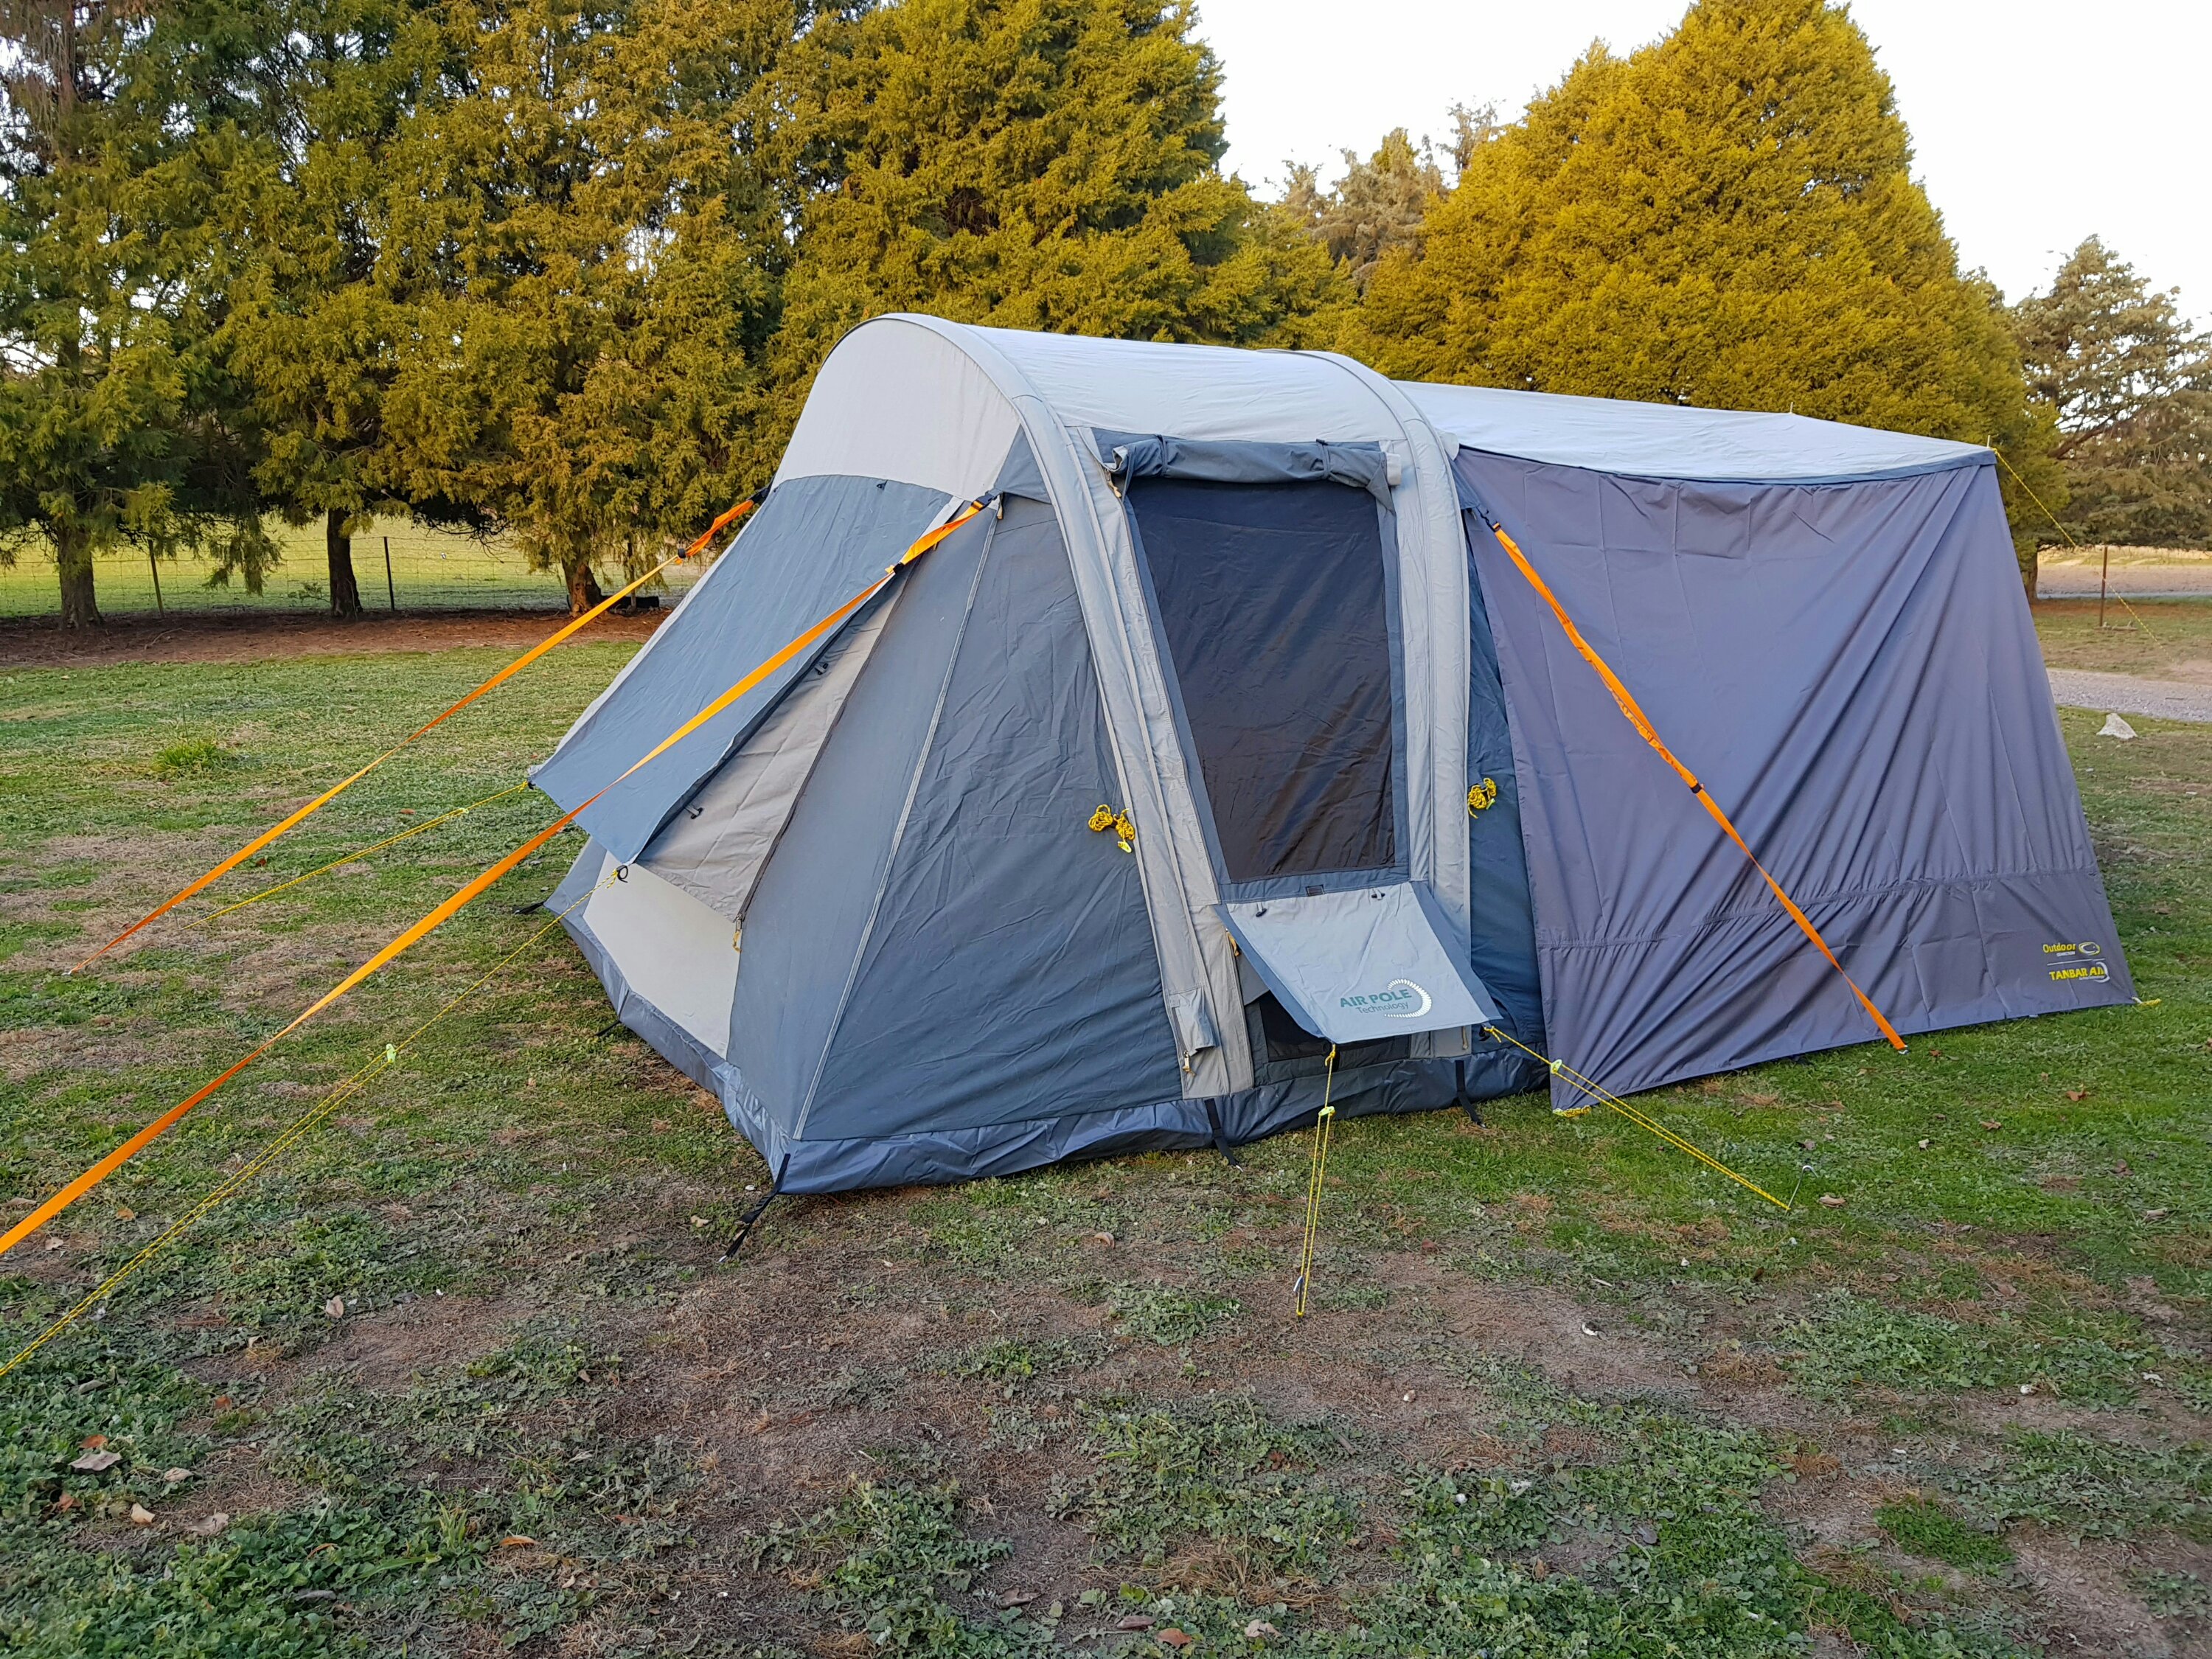
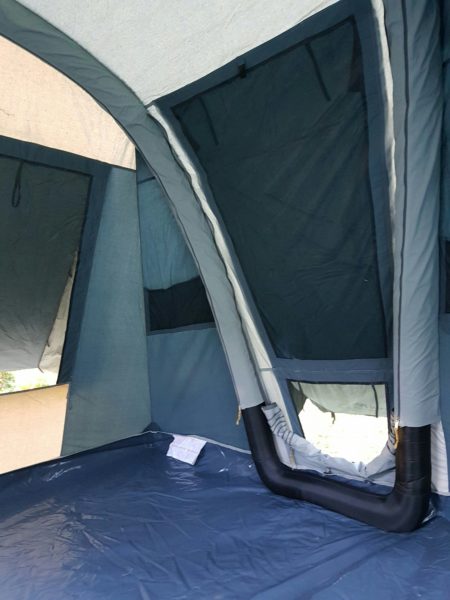
As you can see, the windows are shaded. The large one can have the privacy screen as it is referred to zipped open for maximum ventilation. There’s optional lower ventilation on the 2 side windows and a second window flap on the side windows, one from the inside and one from the outside. But a design flaw means that the one inside is zippered backwards and rolls down not up, so if you close it you’ll close off the bottom ventilation as well. It seems backwards to me anyhow.
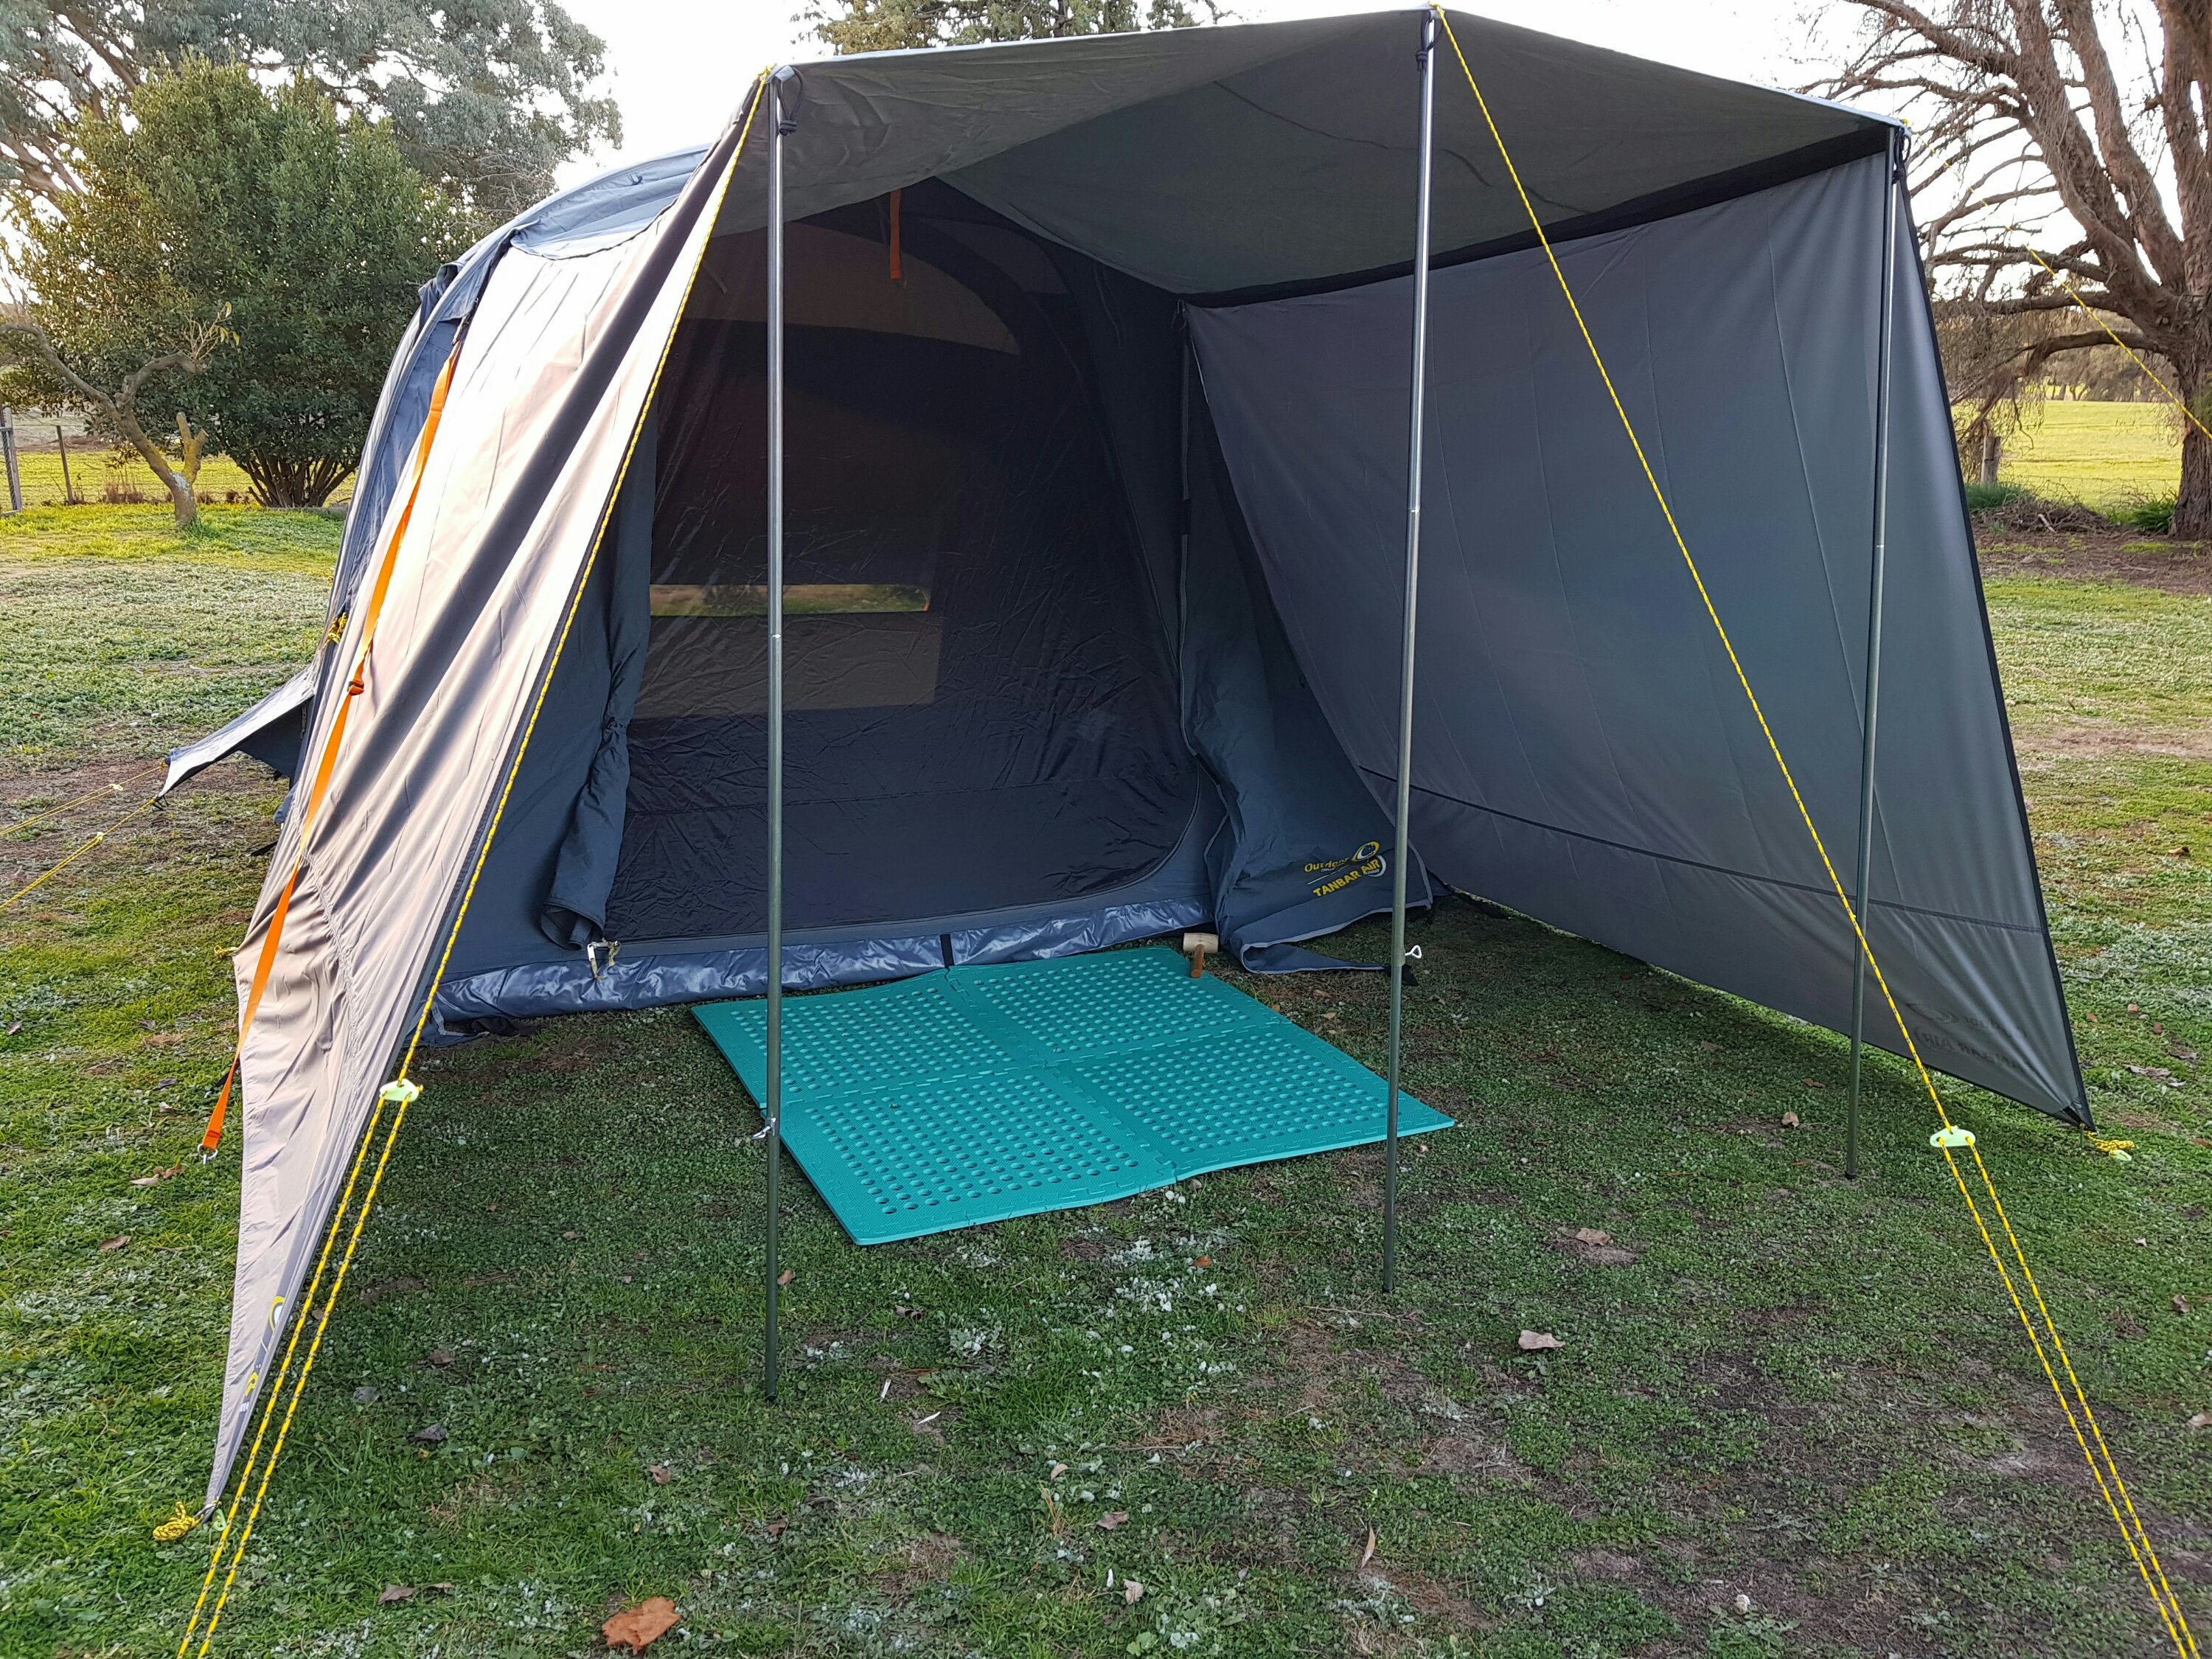
Inside there is the ‘veranda’ sitting area (cheeky grin) and we’ve picked up a few mats for dispatching of footwear. Sites we have used to date have been muddy or sandy or just lacking in grass to hold the soil out. We’ll probably pick up some more or a flooring of some kind as time goes on.
Inside there’s well, there’s 1 room. It’s large, open plan and…
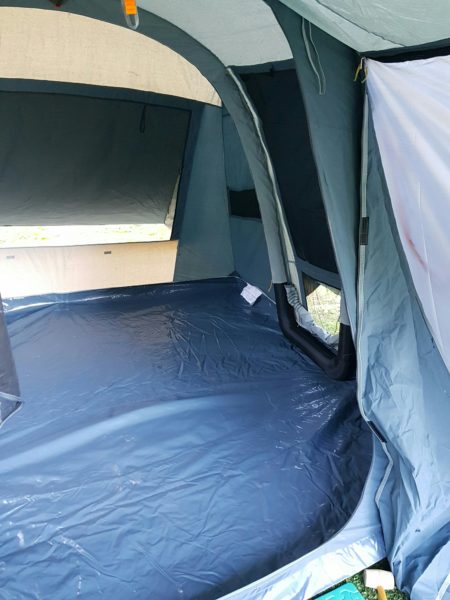
So that’s it. A guided tour of a single room tent.
Hope you enjoyed it.
Luckily I did read the instructions and erect the tent before we used it because one of the first things it says it’s that you need to waterproof the tent before use. What? It needs watering getting totally sodden and then drying out several times before is waterproof and that’s not all. Once you’ve done that, any large needle holes will need seam sealant putting on them. And yes, it leaks and yes I’m going to need to buy sealant (we did have some for the Hilleberg but it has died out through age) and yes, somehow I need to apply the sealant whilst the tent is erect, to the roof seams… Oh great. Experience tells me it works best when the fabric is pulled extra taught and applied to both sides at the same time. I have no idea how to achieve that one. But need to do so before we next use the tent in rain.
And one last thing. It had a zipped sheltered hole for electrics! This is not camping as we know it.