Slow Combustion Stoves

Next on the list of big jobs to be done, came the installation of the wood burning stove.  Or more accurately the completion of the installation because the stove itself had been purchased and installed in January and basically sitting in the fireplace ever since.  It was time to get the flue sorted.   Time to get our act together and decide on what flue kit to purchase and get it sorted.

This needs a use


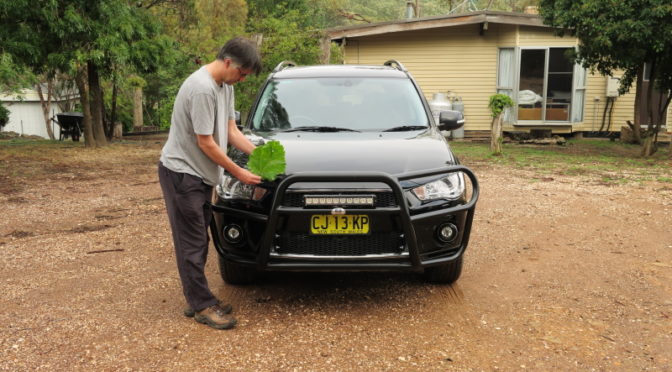
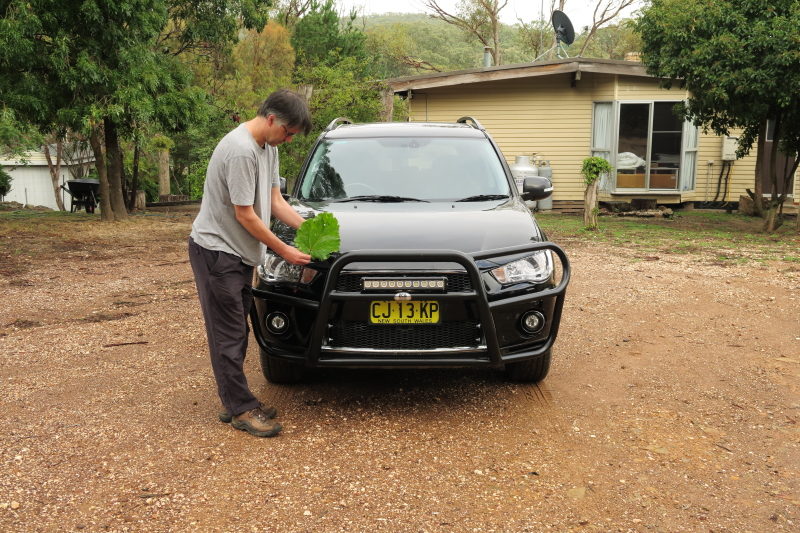
With the flue kit ordered, and collected from the store (special order only) and the extra 2meters of flexible flue piping also ordered and delivered, it was finally time to bite the bullet and try to install the kit.  I am made sure that we had the correct 6 inch internal kit with a cowl and down draft excluder.  And we had 2 of the flexi flue kit to standard flue adaptors just in case (I was positive we only needed the one, but someone else wasn’t and once we had confirmed that special order items could be returned to the store for a refund, it really didn’t matter if we had 1 or 2… provided we actually had some!)

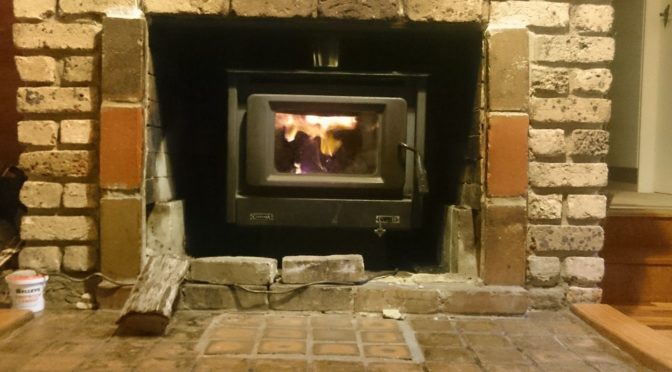
The old fireplace cleaned up and ready for the woodburning stove – or slow combustion stove as they tend to be called here.

The empty space for the new woodburner to fit into…

So the big day arrived, Stuart set about installing the flue and more or less ran into problems from the word go.  It all came down to the very reason we needed the woodburner in the first place.  That darn chimney again.  Why or Why could the person who built the house not have put a straight chimney breast in?  There is no reason what so ever as to why they could not have done so.  Instead they made the chimney with a bend in it.  A narrow bend as well.  One that didn’t give enough space for anything to happen as it turns out.  Even smoke had had issues going up it.  The wind often came down it and smoke frequently returned to whence it came from!  It was a pain.  The fire place wasn’t designed with anything other than taking up a stupid amount of space.  It is too large, too deep and gives off no heat.  It returns all the smoke it can and you know what?  It also isn’t 6 inches wide… that is the chimney isn’t 6 inches wide all the way up.  and that is a problem… the problem that Stuart ran into almost straight away.  He couldn’t just construct the flue and post it down the chimney, attach it to the wood burner and be done with the matter.  Curiously though, it was only about 1cm out… odd.

He also couldn’t chip away at the bricks inside the chimney breast because it turns out that they are ‘ornamental’ fire bricks.  I say ornamental because whoever put them in was using gravity only to keep them in place, nothing more.  The weight of the bricks on top is the only thing that keeps the internal set of bricks in the chimney in place….

A plan B was needed and that meant a re-think.   And so the brand new flue was battered into a new shape where necessary and then forced into one of the adaptors and it sort of worked.

And so, eventually and with a slight change to the instructions on how we were planning on using it, the flue kit was installed, up and running.  It was even secured into place, cemented in.  It fits the chimney place at the top and extends at least 1m above the height of the top of the chimney itself.  It has 4 stays on it, anchoring it so that it can’t wobble around and after words with our builder earlier in the month, a plan for anchoring those stays on the roof had been devised without affecting the waterproofing of the roof at all.  Everything was now in place, we just needed to let the cement (?) on the chimney plate to the chimney breast itself (there was a 1cm gap on either side where things didn’t quite fit… the 10inch square chimney plate was great except for the fact that our chimney was 10inches and 2cm wide on its internal width measurement… nothing every really goes easily, does it?

Getting the fire lit was initially an issue, but now that things have been heated up many times, it is a lot better.  It guess it has bedded in somehow and all the grease inside it has now burnt off as well.  The fire was exactly the same, getting it lit was a major headache.  One curious feature of Australia is that although they have some of the best and most efficient coal in the world, the use of coal here as a means of heating is banned.  Yep – consumers can’t buy or use coal.  You can only burn wood.  That’s the law.  Its taken a while to get the hang of not using coal on a fire, but it was something we were reasonably used to be what with having lived on the road for 12 months and our survival/bush craft training.

And so the first firing on the slow combustion stove came the very weekend that the temperatures started to drop and drop and … yeh…

this

made this

Finally installed and lit

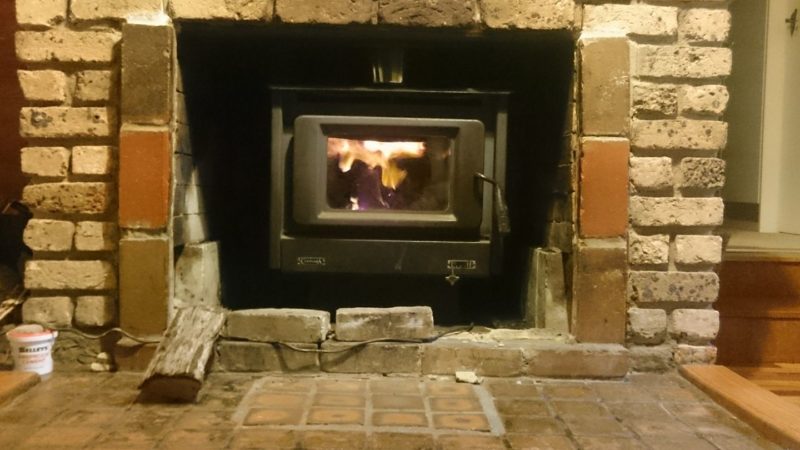
very welcome indeed.

Now I just have to cement in those 4 brocks across the front… spot the fireproof cement in the corner of the photo?

Actually, can I add as a footnote, that this stove is very efficient and almost too good for its own good.  There have been times when we have both been in T-shirts sweating wondering if there was a way of putting the fire out, or at least getting it not to be quite so darn HOT!  Perhaps a smaller one would have been better…

Holiday updates (Part 4)

So the final update of Stuart’s holiday.

The weekend was spent doing repairs and catching up on maintenance around the garden.  Stuart finally climbed back onto the roof and measured the chimney so we were able to make a decision about what we needed to order in order to get the slow combustion stove up and running.  We ended up with more than hoped for but the lady at the counter confirmed that we could return special order items, so it was better to play safe and order too much and return it than be a piece short…  We ended up with a complete straight flue kit, 2m of flexi flue and 2 straight to flexi adaptors (one of which was returned!)  Luckily when the parts arrived, the 2m of flexi flue was a single 2m piece which was what we needed to make life much easier.  Ideally there would have

existed a flexi flue kit complete with adaptors, chimney plate, chimney cowl and downdraft preventer, but that would really have made life way too easy wouldn’t it!

So In addition to that, the wood was moved and Stuart raided the barn and the workshop to riaise the level that the wood was stacked at because when it rains, the water runs through the car port and certain areas flood.  These are areas that were not used and hence became really good places to stack wood…  and this year something had to be done about the flooding in the car port.  So a small trench has been dug, and the wood raised up above the flooding point.  Hopefully with that, the various alternative routes for the water to run (from down the hill and the track) and the trench, the wood will be kept out of the water this year!

There’s another two deliveries due yet…


Dawn on Sunday, gave a little mist hanging in the valley and a sure sign that Autumn is starting to take its hold.

Autumnal Mist hanging over the trees

Monday saw the car in the garage for rhubarb bars to be fitted… OK you just have to have read Bill Bryson and a certain book on a tour of Australia to understand but we had taken the decision that we needed Roo Bars and extra lighting to be fitted to the car and today was the day that happened.  So Stuart was going into Queanbeyan by himself whilst I continued the treatment of Fred’s eye and cleaned out the quarantine zone where the other chicks and hens were still from the 24th Feb when a friend had given me 13 in exchange for some bike maintenance (and new tyres) that I had done on her rather underused mountain bike.

The car before the roo bar bars were fitted
Stuart and, well do I need to say anything more?

His pride and joy… Rhubarb Bars
But it also seems that no-one has told the ‘roos that this means they are not permitted to run into the side of the car… uh ha, yep within a week.

Stuart had a great time wandering around Queanbeyan and picking up some free maps from the tourist information office who basically told him there was nothing to see or do in Queanbeyan and apparently they are correct!  But he did establish that the river that runs through Queanbeyan has Platypuses in it!  That came as a surprise to both of us!

The Bridge across the Molonglo River in Queanbeyan


A Statue of a Platypus

Molonglo River in Queanbeyan

Tuesday was to see the last day of Stuart’s annual leave.  We had discussed it and knew that his work were needing someone in the event that someone else was too ill to do the work and given that the weather forecast (which is generally correct in these parts) was for it to rain for much of the second week of his leave, we decided that if they rang and asked him to come in and work, that he would.  And so when the phone call came on the Tuesday, the Old Parliament was to be our last museum visit of his holiday.

On arrival we decided on the spur of the moment, to take a guided tour run by volunteers.  Whilst they can be a bit of a whirlwind tour, this one wasn’t.  They are also good for giving you an overview of large museums and great for picking up extra information.  They are however, totally useless in letting you read the noticeboards… but that wasn’t what we wanted from it, and a guided tour seemed like a really good idea.  And so we were able to join one that had just started.

As with all volunteer’s the guy was a bit of a character and ran his guided tours with a theme.

A painting in the Prime Minister’s Office

We were to start off in the Prime Minister’s Office which is not the original one because the building was expanded and expanded until it was no longer possible to build onto it anymore and a new parliament building was built.  The original building was built to house 300 people.  By the time they moved to the New Parliament building, there were more than 3,000 people in the building and there are now something like 5,000 in the new building!

Study…
Stuart practising?

A typical backbencher’s room, room M85
A backbenchers room. This one actually has a window so would have been someone quite senior

The Mace

Stuart paying way too much attention
The different layers of paint striped back
Some of the different woods used in the Parliament’s furnishings and furniture (part 1)
Some of the different woods used in the Parliament’s furnishings and furniture (part 2)
The hand made wooden tools used to build the parliament building.
The Handtools
6 sided tables….

Err, perhaps we can see some more… (There should be a mountain over there.)

Err, perhaps we can see some more… (There should be a mountain over there.)

After a break, and lunch (and nothing to do with the rain stopping…), we headed off to our favourite restaurant for lunch…. and then on to another museum…  it was after all the end of Stuart’s annual leave and he wanted to make the most of it…  And so we headed off into the Australian War Memorial to continue with our history update from an Australian point of view.

Looking back at the Old Parliament Building…

We continued with the First World War.  It is quite interesting reading about it from another country’s perspective.

The “Digger’s Dress”
The “Digger’s Dress” information
The back of the “Digger’s Dress”
A Australian Nurse’s Uniform (1915)

And with that, Stuart’s leave was over.